Manually set up a printer (for experts) - Tutorials Ordissimo (Ordissimo v4)

RAPID CONFIGURATION UNSUCCESSFUL
Together we'll see how to set up a new printer on Ordissimo. Before we begin, take note of your printer model (indicated on the receipt or directly on the printer). As well, you'll need to verify that your printer is suported by your ordissimo (this should be a criteria for purchase).
1Before you begin :
- plug your printer into a power supply and into your computer, using the USB cable. Turn it on.
- if you'd like to connect via wifi, connect the printer to your wifi network before turning on your computer.
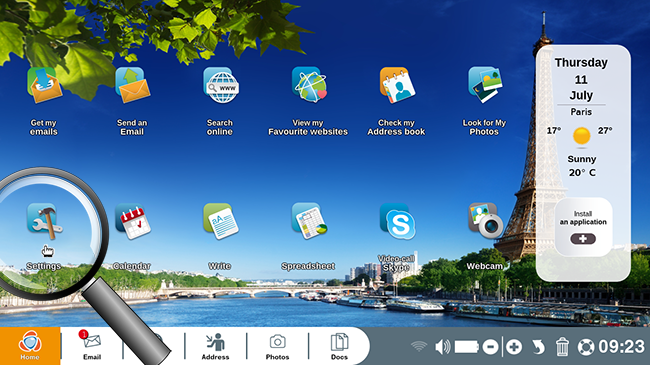
2 Click on settings.
On your home screen's dialog bar, click on "Settings".
3Access printer settings.
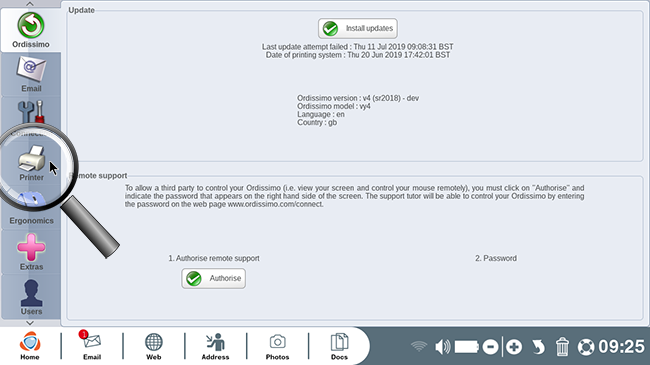
Once in your Ordissimo settings, click on the "Printer" icon.
4 Add your printer.
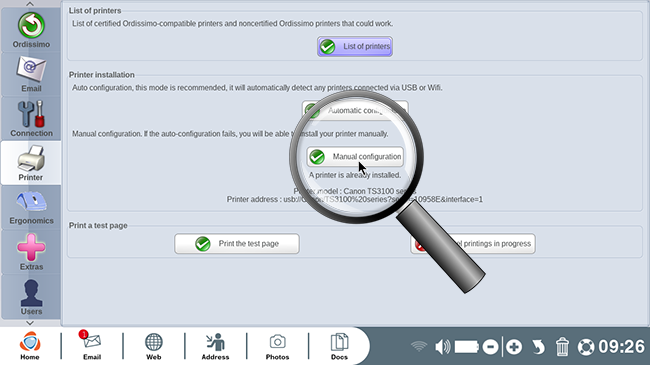
Here you are in your printer settings.
In the "Printer installation" section, click on "Manual configuration".
5 Detecting your printer.
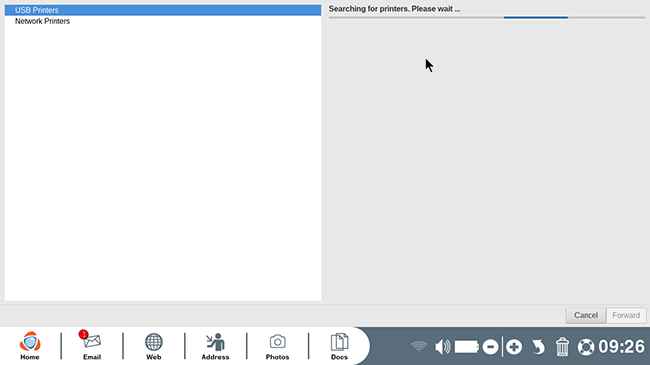
a. Now, wait as your Ordissimo looks for nearby devices.
b. Select "Network Printers" or "USB Printers".
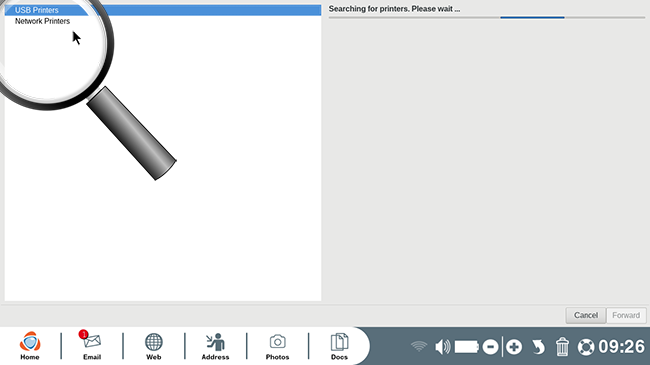
To the left, "USB Printers" is selected by default. Choose "Network Printers" if you're using a wifi or ethernet connected printer. You can see that your Ordissimo is searching for printers thanks to the search bar to the right of the screen. Wait patiently...
c. Select your printer.
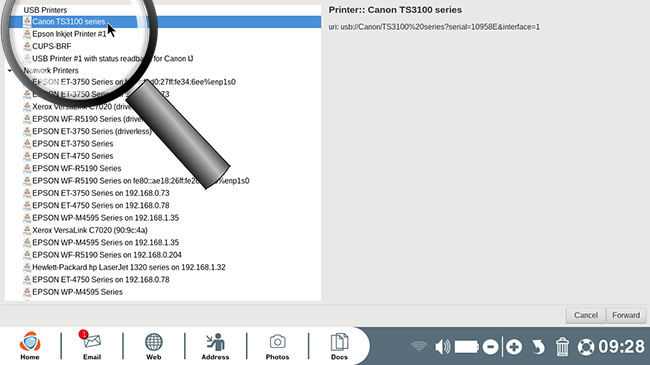
![]() Avoid choosing the printer whose url begins with "ipp".
Avoid choosing the printer whose url begins with "ipp".
Click on "Forward" and wait.
d. Look for your printer in the list of all available printers.
To the left, click on your printer brand and eventually the model.
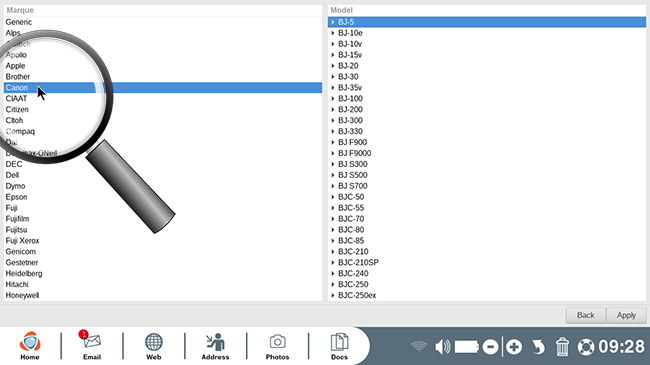
e. Select the model.
In the second list, click on your specific printer model.
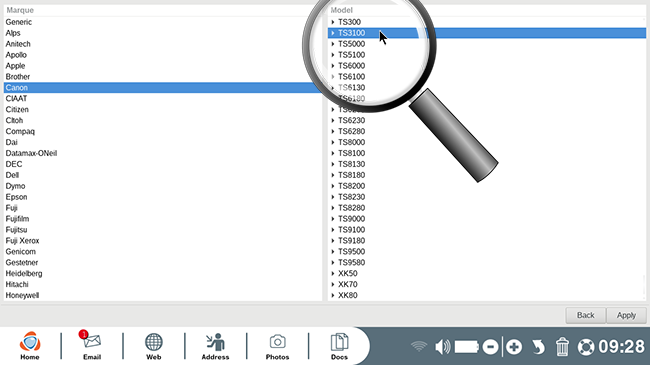
Next, click on "Apply".
6 Confirm configuration.
You'll be sent back to the printer settings window.
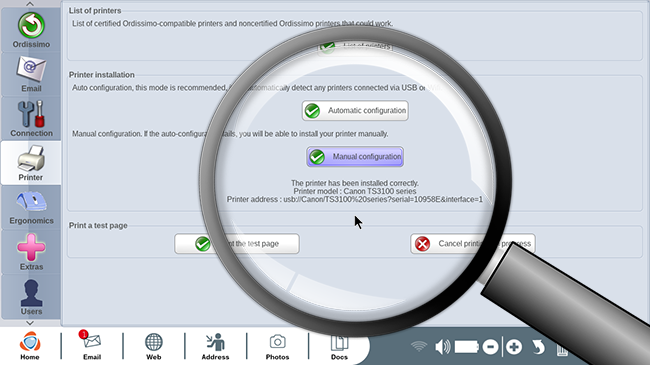
You can see that your printer was correctly connected thanks to the message below "Manual configuration":
"The printer has been installed correctly.
Printer model: ...
Printer address: ..."
7Verify configuration.
In the "Print a test page" section, click on the "Print the test page" button.
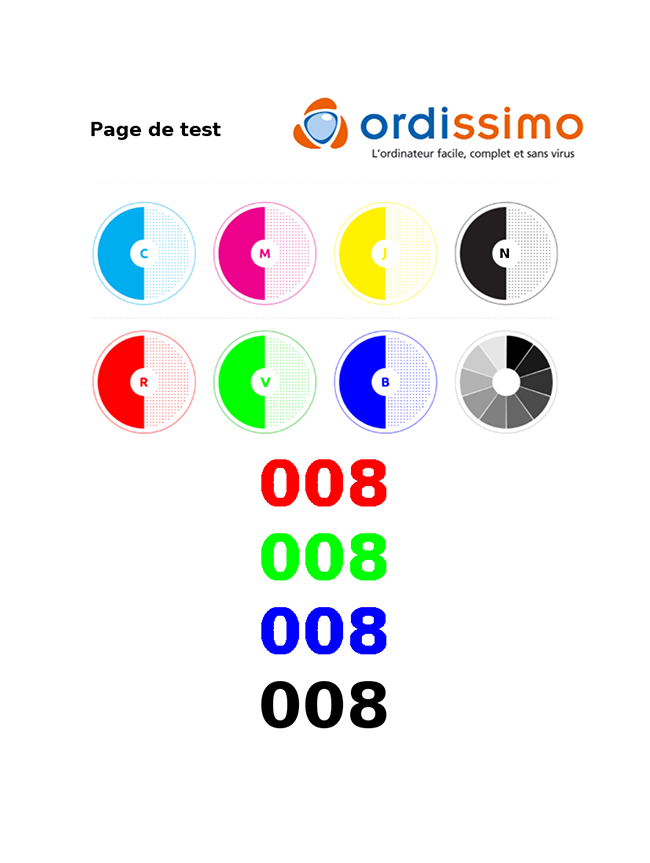
If a sheet resembling the one above is printed, your printer was successfully installed.
![]() Make sure there's at least one sheet of A4 paper in the printer before conducting the test.
Make sure there's at least one sheet of A4 paper in the printer before conducting the test.
Now your printer should be installed and functioning!
 send to a friend