Setting up the tablet's mail application - Tutorials Ordissimo tablet, Android phones and tablets


To take full advantage of the functions of your tablet, it is advisable to regularly update Native Ordissimo applications
Before adjusting your mail application., Your tablet must be connected to Wi-Fi.
You must have already created or be in possession of a valid e-mail address and the associated password to be able to configure the Mail application.
If you do not have an e-mail address yet, you can easily create one on https://accounts.google.com/
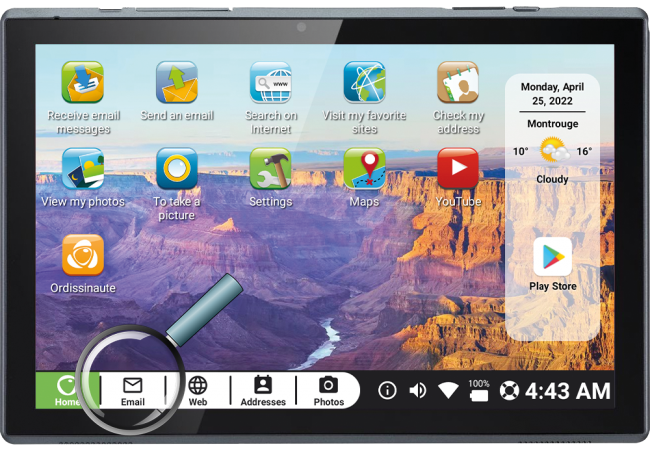
1Access the Email application configuration.
Press the e-mail icon  in the application bar to start setting up your mailbox in the tablet.
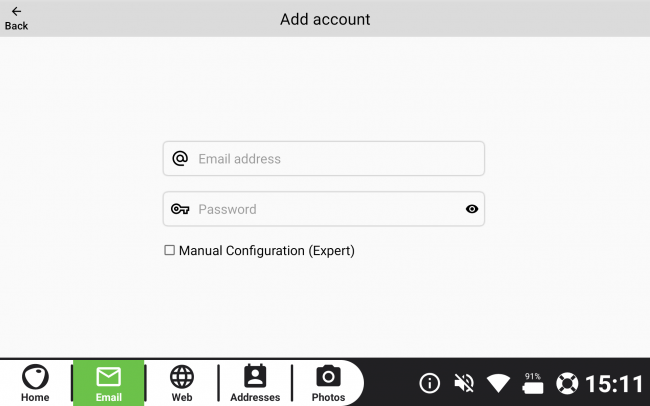
2Start configuration of the Email application.
A screen appears asking you to enter your email address as well as the associated password with this address.
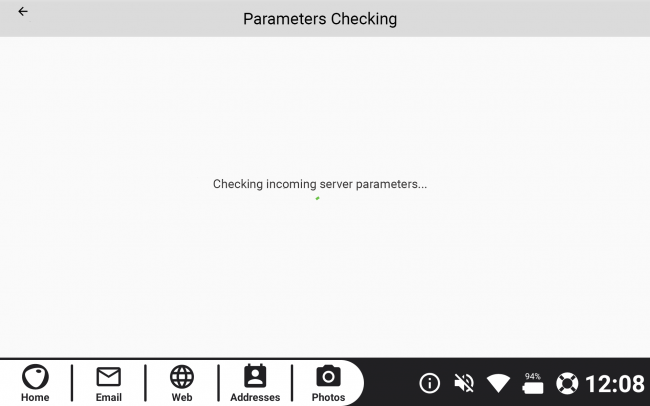
3Verification of mail server parameters.
The application will then check and configure the parameters of your email account associated with your email address.
If an error message appears, make sure you have put the right email address and the right password associated with this address
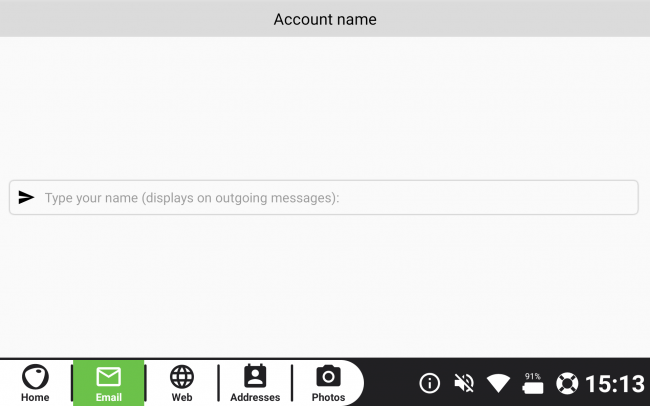
4Choose a name associated with this address
You must then enter a name associated with your email account. This name will be associated with your outgoing emails (visible by your receivers).
5Contact verification.
If you have not yet completed contacts in your address book, the application suggests that you add it (you can add them later via the Adresses application in the application bars).
6End of the configuration.
Your mail application is configured and ready to use.
You can now send and receive emails from your tablet connected to Wi-Fi.
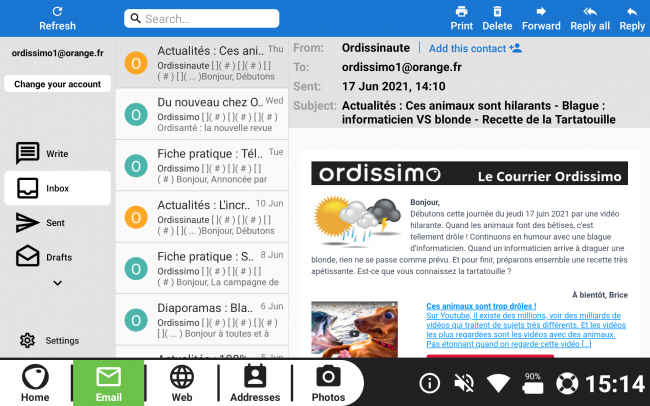
You can add other email addresses to the application and go from one to the other easily by clicking on the button ![]()
 send to a friend