How to connect to the internet - Tutorials Ordissimo, Windows 10, Mac OS X (Ordissimo v3, Ordissimo v2)


1Connect your WiFi hub to your Ordissimo computer using your ethernet cable.
The ethernet cable is provided with your WiFi hub. It will allow you to connect your Ordissimo computer from its ethernet port to one of the ethernet ports in your WiFi hub.
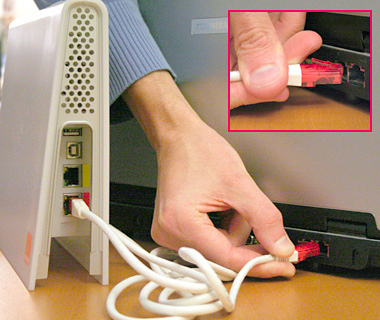
2Plug the hub into the telephone socket, as explained in the hub's manual.
 |
 |
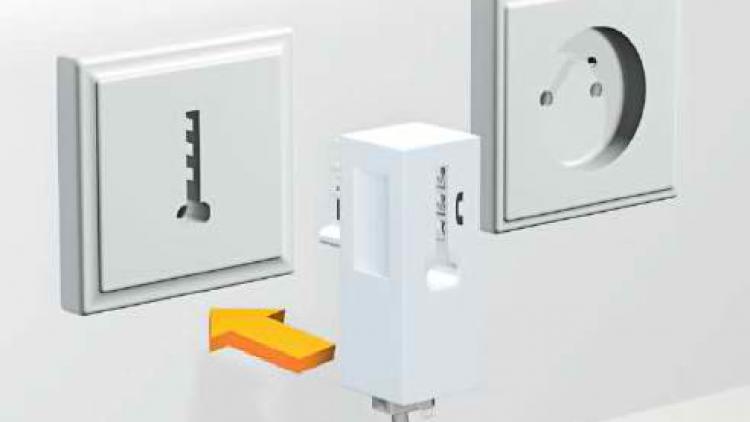
![]() To avoid inteference with your telephone line, it is a good idea to install an ADSL filter on each of your telephone sockets at home.
To avoid inteference with your telephone line, it is a good idea to install an ADSL filter on each of your telephone sockets at home.
3 Click on the Internet button.
On your Ordissimo's home page, click on 'Internet', at the bottom left hand corner of the screen.

4Open your Hub's configuration menu.
a. Enter the name of the modem.
Write your modem's name in the address bar (eg. BT Smart Hub).
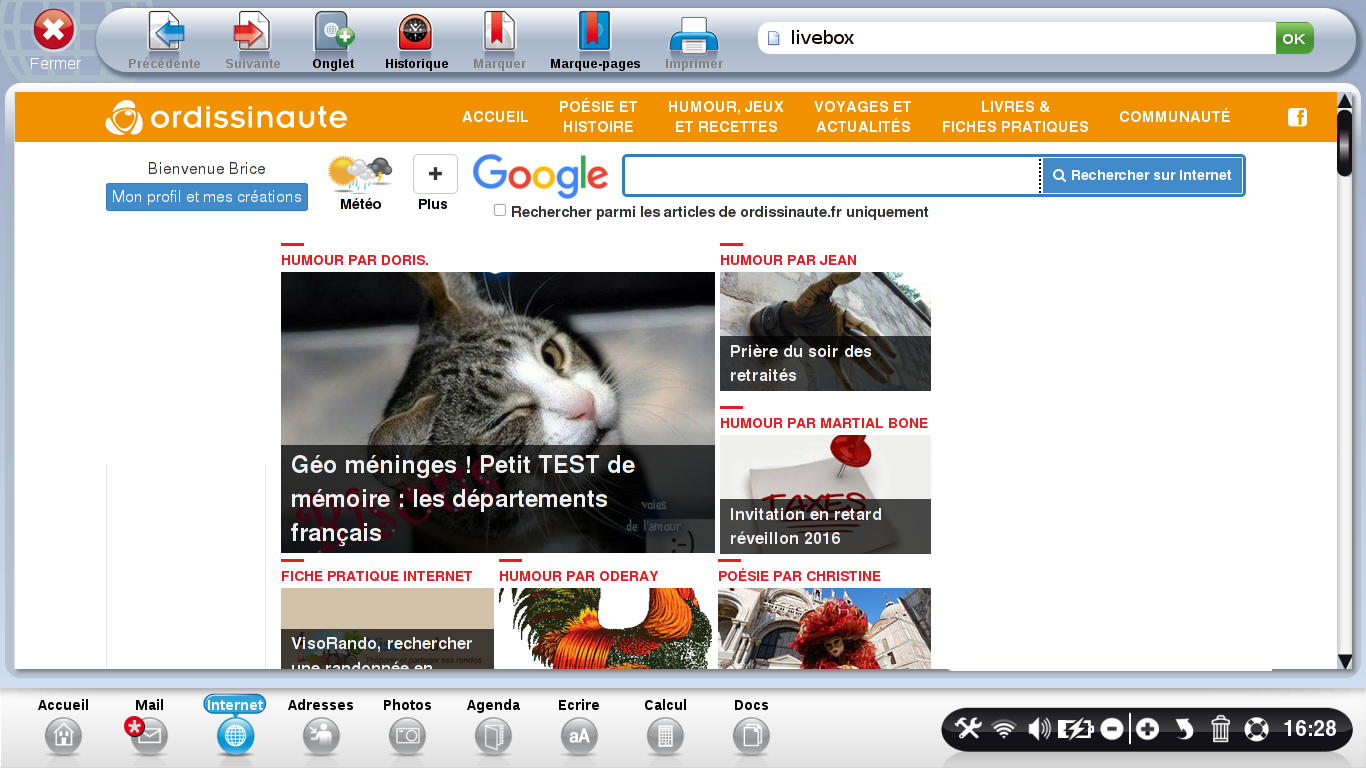
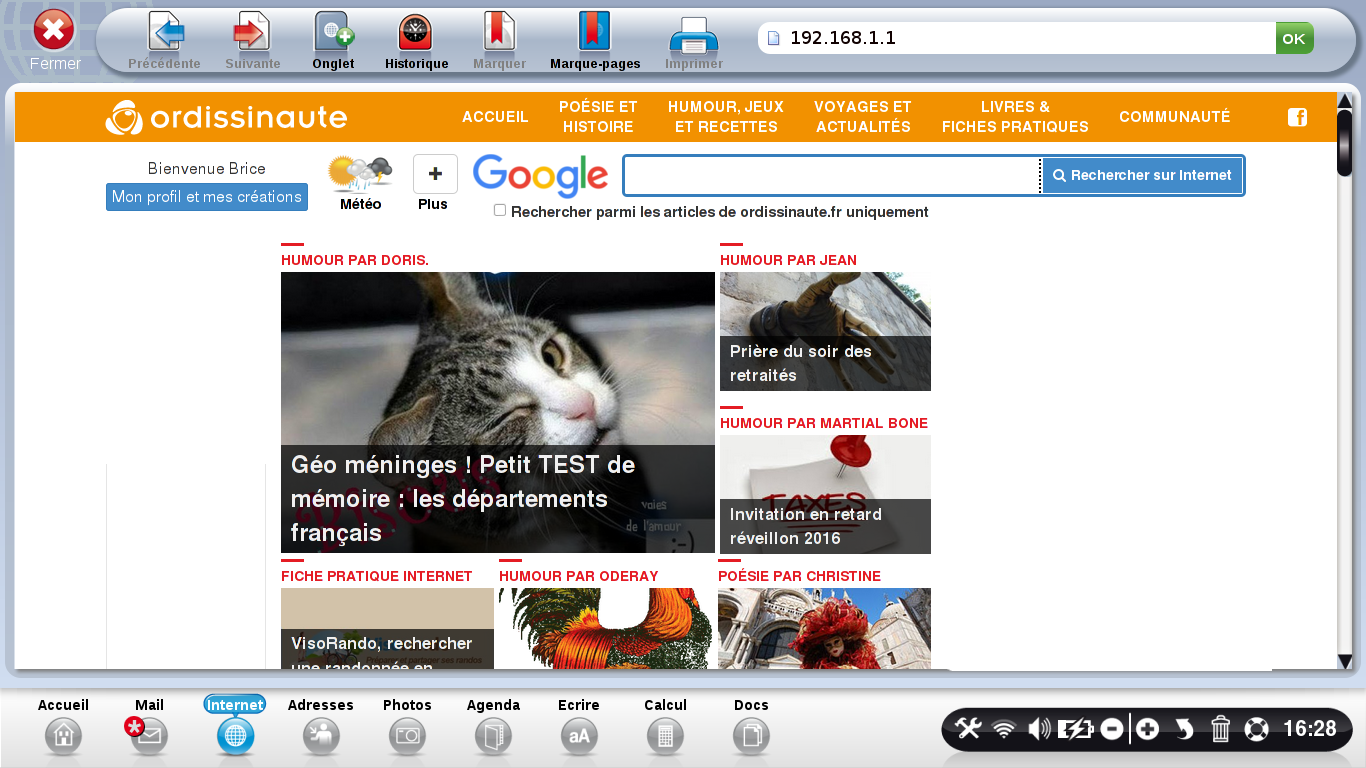
b. Enter the IP address.
If nothing comes up in the search results, type the IP address that can be found in your hub's user guide.
5Enter the hub's ID and password.
You will be asked to enter your hub's ID and password, which you will find in the hub's user guide.
6 Configure the hub's wired ADSL connection.
Follow the instructions in the hub's user guide to do this. You will be asked for a 'connection' ID and 'connection' password. They will have been sent to you by your internet provider in your subscription confirmation letter. Be careful not to confuse the ID and password for the messaging service which you will need to set up your messaging account.
7Check the connection.
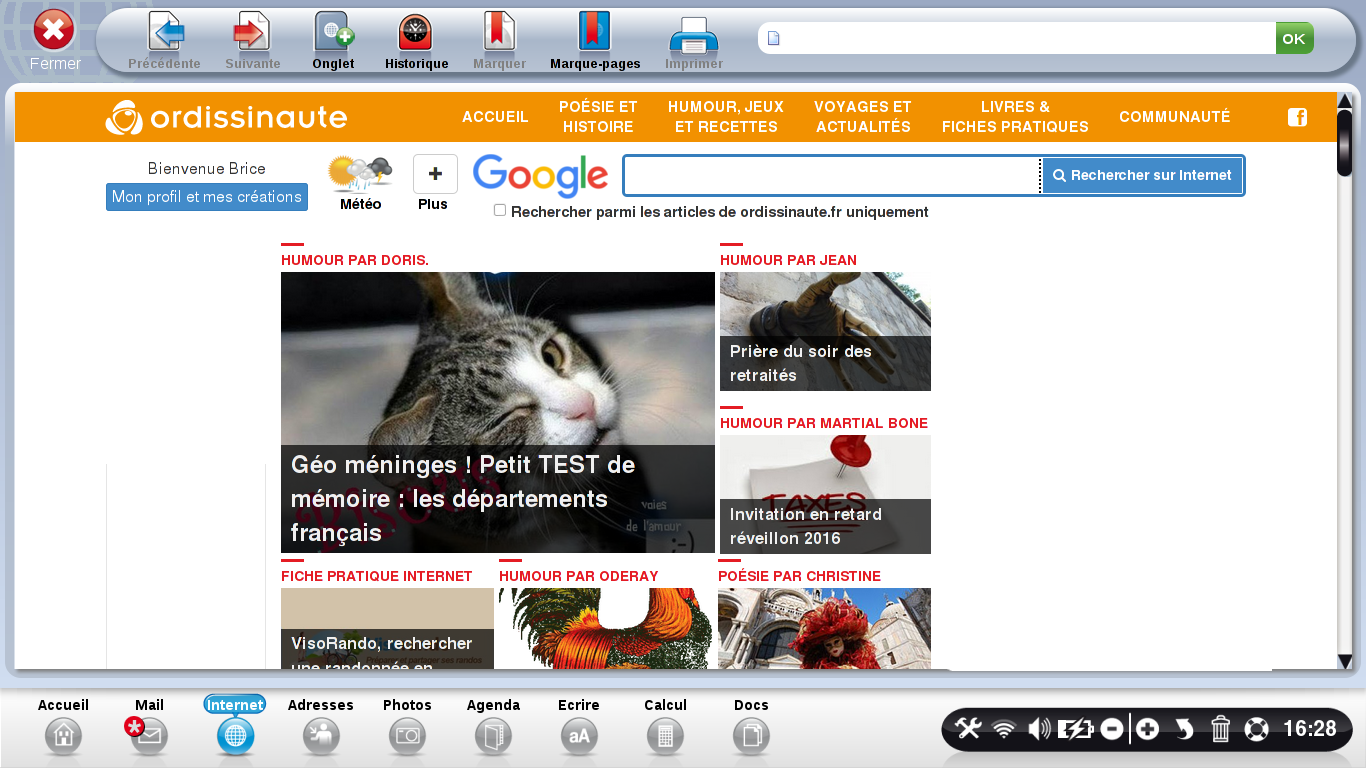
Once your hub has been configured, turn off your Ordissimo and restart it. On the home page, click on the 'Internet' button. If the Ordissinaute.com website appears as your home page, everything has been correctly installed and you can now use the Internet.
 send to a friend