How to crop and rotate a photo with the "Photos" application - Tutorials Ordissimo (Ordissimo v4)
Compatibility : 

Level: Introduction
Estimated time: 20'
Together we'll go step by step through how to rotate a photo with the "Photos" application before cropping it in order to highlight a certain focal point.
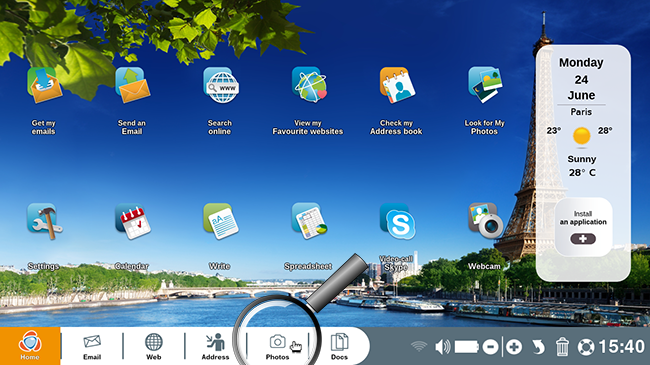
1Click on the "Photos" application.
On the home screen, click on the "Photos" application on the applications bar at the bottom of the screen.
2Rotate a photo.
a. Select the photo.
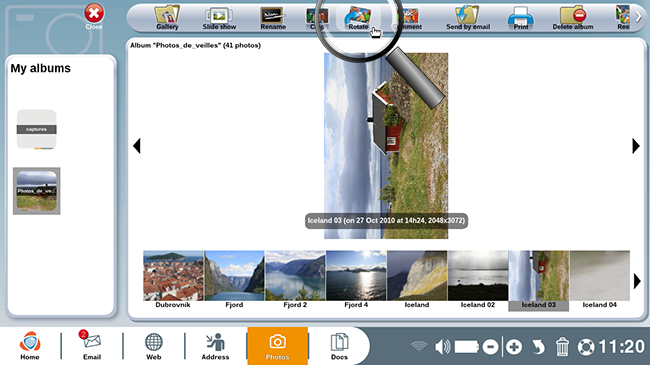
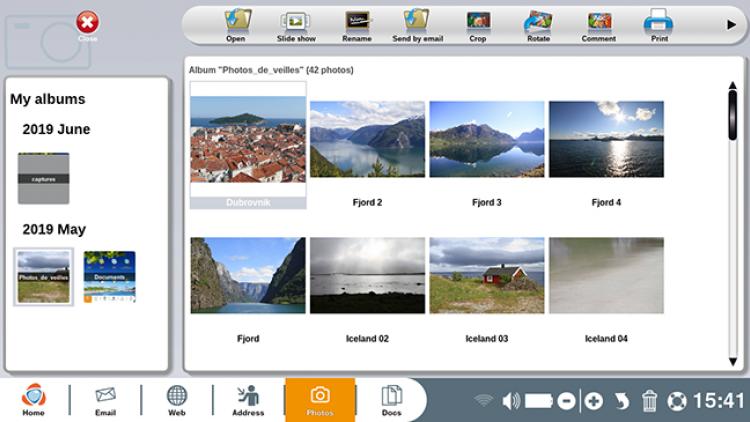
Now you're in the "Photos" application with your collection of photo albums. You want to rotate a photo from portrait mode to landscape mode. To do so, click on the photo in question.
Now you're in the "Photos" application with your collection of photo albums. You want to rotate a photo from portrait mode to landscape mode. To do so, click on the photo in question.

b. Click on the "Rotate" button.
From here, click on the "Rotate" button at the top of your screen.
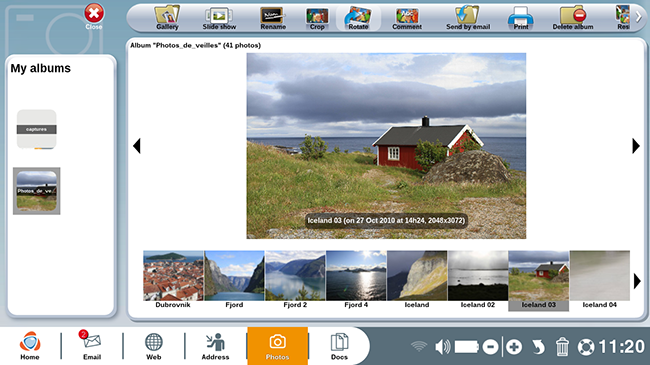
c. Photo in landscape mode.
The photo in question is turned 90° to the right.
3Reframe a photo.
a. Click on the "Crop" button.
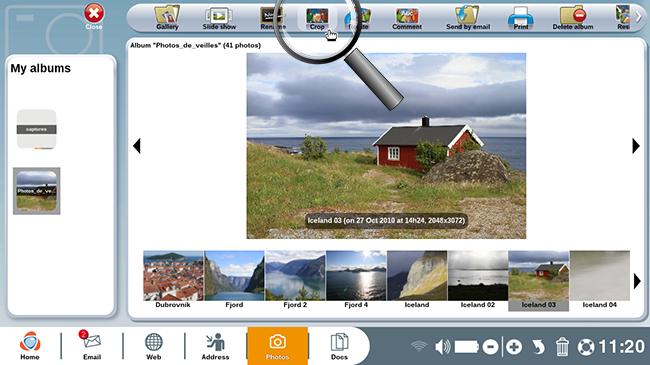
Now, you wish to reframe this same photograph. To do so, click on the "Crop" button.
Now, you wish to reframe this same photograph. To do so, click on the "Crop" button.
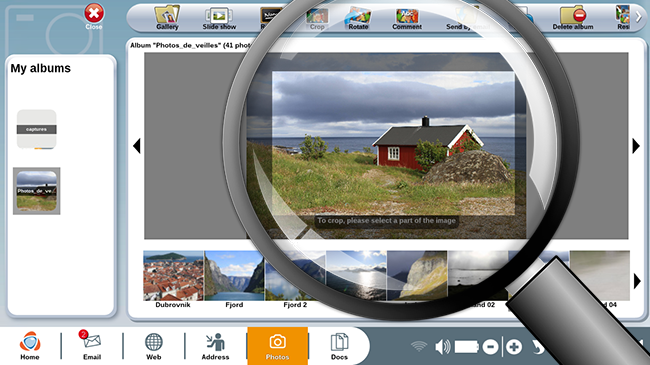
b. Define the new dimensions.
With the help of your mouse, click somewhere on the photograph (for example, on the upper left corner of the photo). Hold down and drag your mouse until the new dimensions best suit.
c. Review your cropped photo.
Here is your newly cropped photo! This is also indicated in the photo's new title.
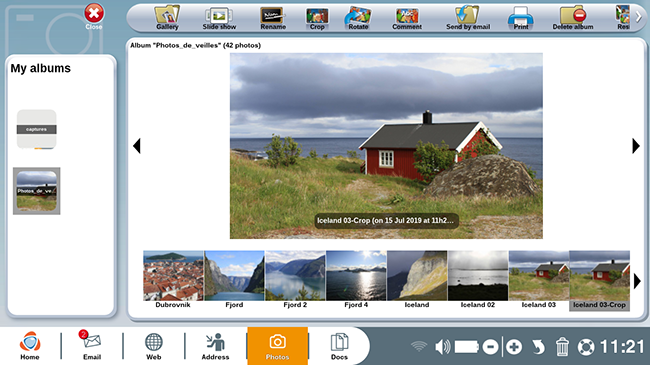
The original photo is preserved (Icelend 03), and is visible to the left of the newly cropped photo.
 send to a friend