Multiple user accounts on the same Ordissimo - Tutorials Ordissimo (Ordissimo v4)

Creating a different ordissimo account for each user is a great way to keep personal information private and secure. An ordissimo user won't have access to personal information stored in other users' accounts.
1Open "Settings".
Click on the "Settings" icon.

2Settings page.
Once in your settings, click on the "Users" window to access all user accounts.

3Manage users.
If you haven't created your own user account, you will be marked as "Ordissimo". Know that only this "Ordissimo" administrator has the power to add or delete other additional user accounts.

The names of all user accounts are listed in this window.
4Create a new user.
a. Enter a new name.
To add a new user, enter a user name to be used as the account name.

Any user account except for the "Ordissimo" administrator can be deleted by going to that account's settings.
b. Add your name.
Once you've entered your name, click on the "Add" button at the bottom of the screen.

c. New user appears.
Note that Brice was added to the list of Ordissimo users.

![]() You can create as many accounts as your computer's hard drive has room for.
You can create as many accounts as your computer's hard drive has room for.
5Change users.
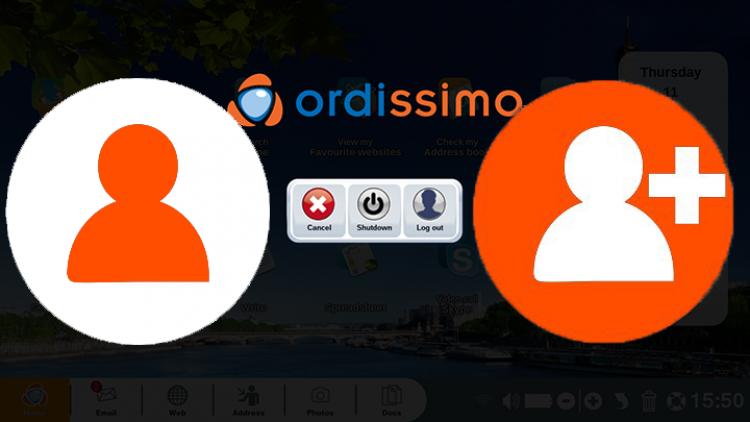
Clicking on your Ordissimo's "Power" button will cause this window to appear.

- Cancel : to cancel shutting down your Ordissimo
- Shut down : shut down your Ordissimo
- Log out : change users
If your Ordissimo only has one user account, the computer will shut down without going through this step.
Select "Log out".
6Choose a user.
A new window will appear. From here, you can either choose the user account you wish to use or turn off your Ordissimo. To choose another account, simply click on that account name.

Every time you turn on your computer this window will appear, asking you to choose a user.
To turn off your computer, click on the "Quit" button at the bottom of the screen.
The administrator's account always has "Ordissimo" written after its name.
7Remove an account.
a. Select the account.
By repeating steps 1 to 3, you'll find yourself in your User settings. From here you can remove a user account. To do so, click on the "Brice" account followed by the "Remove" button.

It's impossible to delete the "administrator" account (in this example, the "Ordissimo" account).
b. Confirm deletion.
A window will appear with the following text: "Do you really want to remove this user and all its data?"
Click on "Yes" to confirm removal of the "Brice" account.

When you remove a user account, all data saved to the account will be deleted (emails, address book, photos, calendar, documents, bookmarks, etc).
c. After removal.
Once you've removed the account, note that the only the Ordissimo account remains.

8Password.
a. Click on "Password".
To make your account password protected, click on your user name then "Password".

b. Enter your password.
A window will appear inviting you to type in your password two times. After doing so, click on "Ok".

c. Protected account.
Your account is now protected and a padlock appears next to your user name.

d. Every time you turn on your computer, enter your password.
Now Ordissimo will require that you enter your password every time you turn on your computer or change user accounts. When asked, type it in and press on "Log in" at the bottom right of the window.

e. Delete a password.
If you happen to lose your password, it's possible to delete the password from the administrator's account settings. Select the administrator account and return to settings. Once in this window, choose the account whose password you've forgotten and click on "Password" then "Delete the password".

You have the option of saving data from a password protected account that you'd like to delete by first removing its password from the administrator account. Once the account password is removed, you can save data by transferring it onto a USB drive or by using a Mémorissimo (cf. practical guide "Mémorissimo user manual").
9Difference between accounts.
Here are the differences between an "administrator" and "user" account:
|
Administrator settings:
|
User settings:
|
 |
 |

 send to a friend