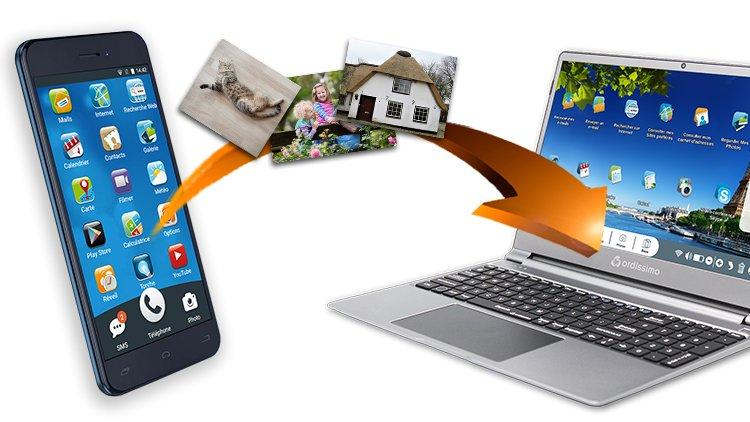
How to copy photos from your Android phone to your Ordissimo - Tutorials Ordissimo (Ordissimo v4)

With this new practical guide, you'll see how to transfer the photo(s) of your choice from your Android smartphone (Android™ is an open-source software program present on many smartphones, including Ordissimo smartphones) to your Ordissimo computer.
1Open your documents.
a. Click on "Docs".
From the Ordissimo home screen, click on "Docs" at the bottom of the screen.

b. Documents.
Here you are in your documents.

2Connect your smartphone to your computer and activate the transfer option.
a. Plug the phone into the computer.
From here, plug your "Android" phone into your Ordissimo using the USB cable that came with the cell phone.

b. Connection notification.
Once the phone is plugged in, slide your finger from the top to the bottom of its screen to make the USB Connection notification appear. Clicking on this notification will present you with several options. Choose the one called "Transfer photos".
![]() Depending on your phone model, these notifications might be formulated slightly differently.
Depending on your phone model, these notifications might be formulated slightly differently.
3New "Docs" folder.
Now move from your phone to your Ordissimo. On the screen you'll see a directory labeled "LeNumero1". Click on this.

The displayed name usually depends on your brand of cell phone.
4Look for photos saved on your photo.
a. Look for the "DCIM" folder.
If your cell phone has a MicroSD (a small, removable memory card), you can choose between two folders: one containing the contents of the MicroSD card and the other containing your phone's internal storage. If your phone doesn't have a MicroSD then you will only see the second option. Depending on your phone settings, your photos will be stored either in the "SD Card" folder or the "Internal storage" folder. No matter where the photos are stored, look for the folder entitled "DCIM".

b. Click on "DCIM".
Now, click on "DCIM".

c. Click on the "Camera" folder.
Out of the listed folders, you'll see one labeled "Camera". Click on it in order to find all the photos taken with your phone.

The names of the folders within "DCIM" can vary depending on your phone model.
5Copy the photos.
a. Select and copy the photos.
Here is a sample photo taken with your phone. You wish to copy it onto your Ordissimo.
To do so, click on the photo then on your keyboard's "Copy" key. You can also click "Copy" on the screen's upper toolbar.

b. Click on "Images".
After copying your photo, click on the "Images" folder.

6Create a new folder.
a. Click on "Create a folder".
Now, create a new folder in which to sort your picture by clicking on "Create a folder".

b. Choose a title for the new folder.
Now, choose a title for the new folder. In this example, the folder is called "Telephone".

c. Click on "Ok".
Once you've typed in the title, click on "Ok".

7 Paste the photos to Ordissimo.
a. Click on "Paste".
Here is your newly created "Telephone" folder. Click on it before pressing the "Paste" key or else the "Paste" button on your screen's upper toolbar.

b. Preview the photos.
Click on the photo to preview it. In this example, the photo taken with your phone was successfully copied to your Ordissimo.
8Delete old photos from your phone (optional step).
Before leaving on vacation, consider cleaning out your phone's saved photos in order to create more space!
To do so, return to the "LeNumero1" directory corresponding to your cell phone. In the "Camera" folder, simply select the photos you wish to remove from your phone and click on the trash bin to the bottom right of the screen.

Now you can easily transfer photos from your smartphone to your computer!


 send to a friend